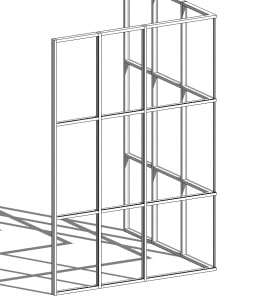
Corner Condition for Curtain Wall
When people work with Revit curtain walls, they will ultimately have questions about dealing with corner conditions. There are some different approaches on dealing with these conditions depending on what the outcome needs to be. The underlying component is to create your own butt glazing mullion to substitute for the glazing compound that would really be there.
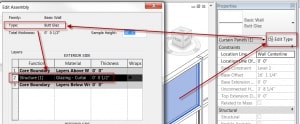
You can duplicate the stock 5″x 5″ Corner Mullion type and name it Butt Glaz. Change the thickness so that it matches the thickness of the panel glaz. Define the material as the same material as the panel and match the leg 2 and leg 1 so it is the same thickness as before.
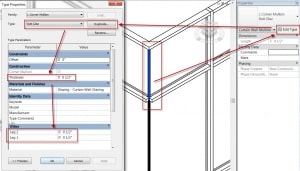
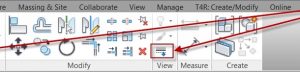
After doing that, your horizontal mullion might not clean up in the corners as you like; so, you might need to select the mullion and change how the mullion joins by using the grip or the ribbon.

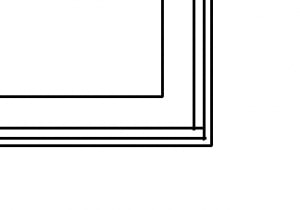
Another way to do this is to create a new wall type that has the offset and thicknesses of the curtain panel, then replace the existing curtain panels. An advantage of doing it this way is the ability to have a nice, clean corner.
No matter which way you do it, it is imperative to consider the lineweight, especially in plan view. Use the “linework” tool to change the lineweight of the lines to your liking. If you use the wall version, know that you can use the “wall join” tool to change how the butt ends come together.
Hope to see you in class,
Jarod Schultz