FormIt – Getting Started – Part 2
In this click saver I want to talk about some recent updates to Autodesk FormIt. Some of you might have been trying out FormIt already since I last wrote about it, or I at least would hope :0). Starting August 29th there was a significant update with some enhanced features that takes FormIt to another level. FormIt can be used on multiple platforms; IPad, Android, or through your browser. Autodesk has been working hard to make all of the platforms behave the same way and have the same features in it. For this article I’m going to be using the browser version.
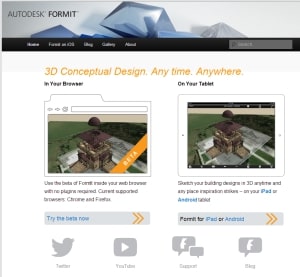
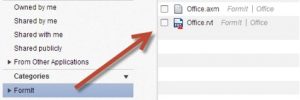
The website to get started is: autodeskformit.com and from here is where I’m going to start building a conceptual design model. Take note that you will need an Autodesk 360 account which is free: 360.Autodesk.com. The reason for the Autodesk 360 account is for saving the FormIt models. Along with saving the conceptual design model as an AXM file it also automatically converts it to a RVT file. With that said, Autodesk is bridging the gap on being able to take the conceptual design model directly into Revit, no more throw away models.
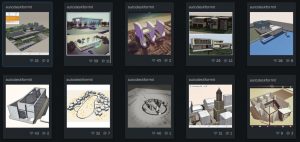
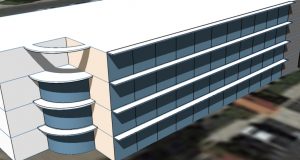
Here are a few examples, if you pick on the Gallery button on the website you can see many more.
As for navigation most of it can done though the mouse. The wheel does the normal zoom that we all know and love, holding down the wheel will do pan, and pick and drag on the drawing plane will orbit. There is a toolbar on the right that you can also use.
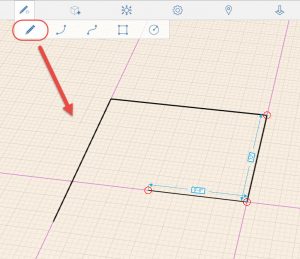
All of the main tools are at the top. When drawing lines to create a closed shape remember that it is just like any other design software, take advantage of the alignment lines and the ortho like mode. If trying to create a line from an existing line just hover your cursor over the endpoint and pick.
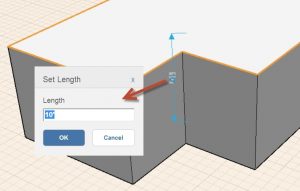
Once you have a closed shape a surface is created, just click on the surface and then click and drag it to turn it into a solid. While dragging to create the solid you will notice a temporary dimension. You can pick on it so a dialog box pops up so you can type in an accurate dimension.
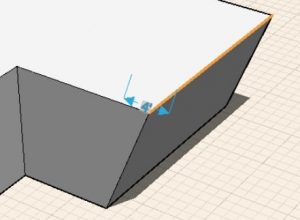
What is also nice is you can use the “tab” key on the keyboard to open the same dialog box. Also as you drag to extrude you can hover over a existing edge of an object so the extrusion
You can also click an edge and then click and drag the edge to taper it.
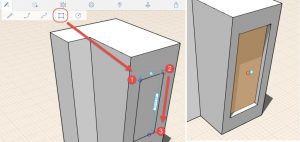
FormIt automatically detects when you are on a surface when you draw lines. With that in mind you can create recesses or additions to the model by drawing additional closed loops or use the rectangle command.
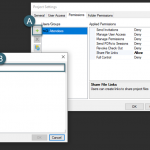
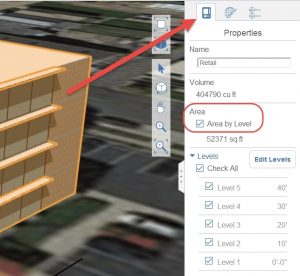
You can add levels to the model so you can start to get information for cubic feet and total square footage. On the right is a tab to open the properties palette. Pick on the top right tab to start adding or editing the levels
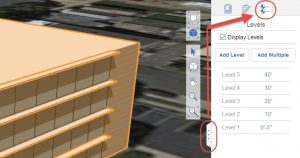
To add the levels to the model double click the model and open the properties palette. Now pick on the properties tab on the top left of the palette and check mark the area by level option.
Notice how the model now has blue lines encompassing your model. What is really nice is you can draw lines to the level line edges or align items to those edges.

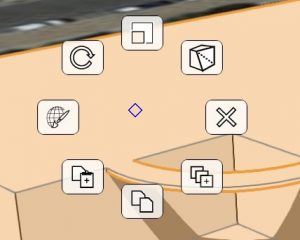
As for selection of objects you have the standard drag to the left or drag to the right selection boxes but you also have a lasso. By right-clicking outside of the model you will get this option.
You also have the standard array feature to help with creating items like curtain wall or sun shade objects. By developing an object and either double clicking it or using one of the selection window you can right-click to activate it. You can array a single line like I did to get the curtain wall effect or select a entire extruded object like the sun shade.
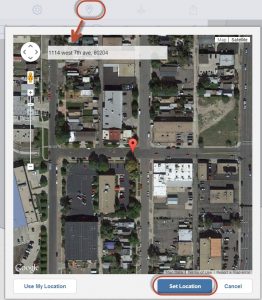
This will help you start modeling in FormIt but let’s put some context to the shape that you are creating. On the bar at the top is the ability to set the location of your design which will give you accurate shadows.
Once this is done you will probably want to move the model to the desired location. Just double-click on the model to highlight it and right-click to see the editing tools. You have the standard move, copy, rotate, and array. You can also select two solids using the CTRL key and Join them together as one object.
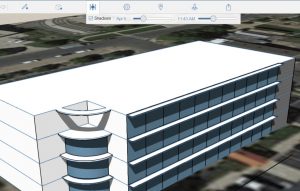
You can adjust the sun settings using the top bar to get a real-time daylight study.
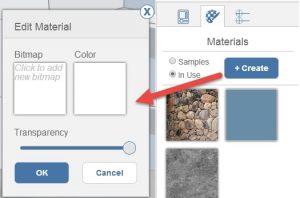
One of the last things to look at is adding materials to the surfaces to make the model a little more lifelike. On the right is a tiny vertical bar that if pick on it will open the material manager. To use a material first click on a surface and then select the material that you would like to use.
You can use the create button to create a custom material from any image file. You can also drag and drop a image file from windows explorer onto the FormIt drawing space to create a custom material on fly.
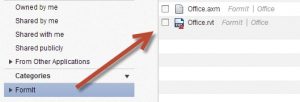
The great thing about FormIt is when I want to take the model into Revit I just need to login into my Autodesk 360 account and download the RVT file.
Hopefully next month we will look at taking the model into Revit and the tools to covert the mass into building objects. This year Autodesk is really getting focused on bringing us conceptual design tools that easily come into Revit when we want to move further into design development. See you in class or at your office, Jarod