Integrating Bluebeam Revu + SharePoint
With the latest release of Revu® (20.1), enhancements around the SharePoint integration were included. In this post, I will cover the steps necessary to enable the integration and what the workflow entails.
CONNECTING SHAREPOINT
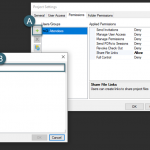
Start by navigating to the Revu menu tab and click “Preferences”.
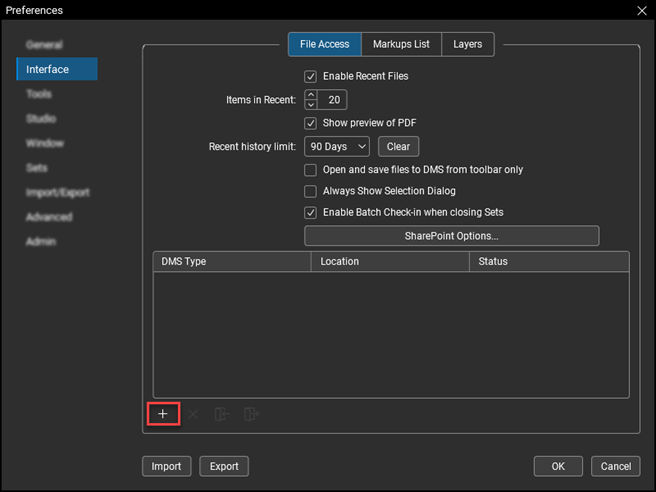
From the options in the right column of the pop-up box, select “Interface”. In the interface view, make sure the “File Access” tab is highlighted to add your SharePoint location. Click the plus icon (+) in the lower right to add your site.
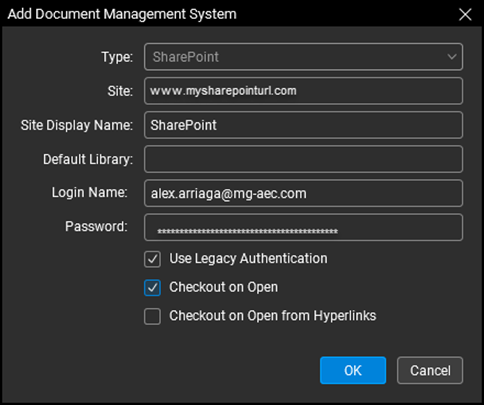
Once selected you will see a new window displayed to setup your Document Management system with the unique SharePoint URL and username/password. I recommend also selecting the “Checkout on Option” option. This allows you to immediately “check out” a document for edits. Leave this option unchecked if you only wish to view documents.
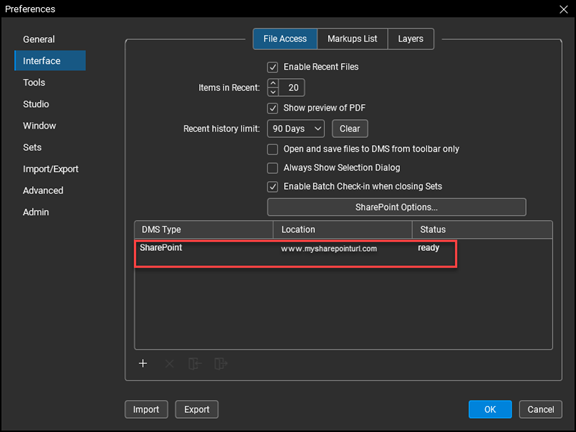
You should now see the site listed as a location to access.
ACCESSING SHAREPOINT
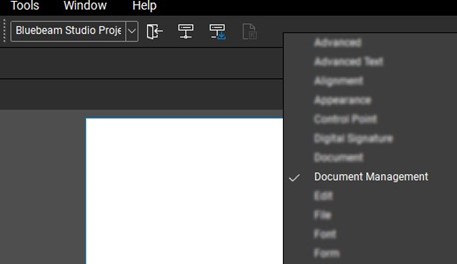
Enable the Document Management toolbar, to access your SharePoint location within Revu. To add: right click on your toolbar to display the menu options and select “Document Management”.
From the Document Management toolbar, you can now select your SharePoint location.
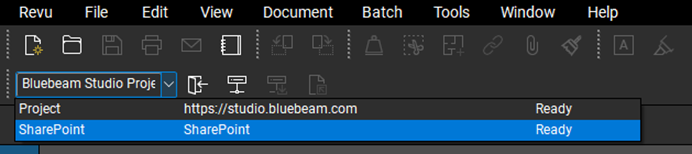
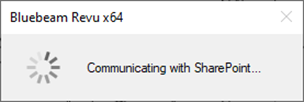
Please note: You may need to enter in your credentials depending on the location and settings you have selected in Preferences.
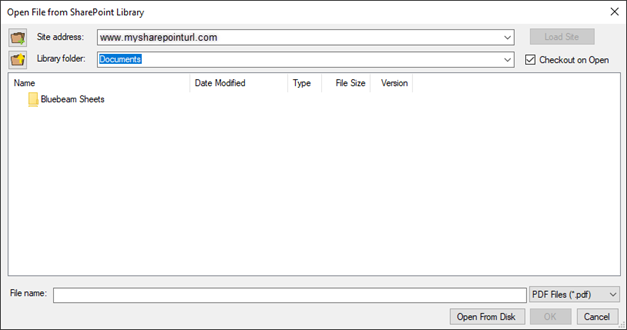
Select “Open File (DMS)”.
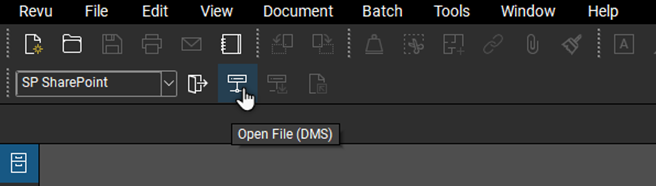
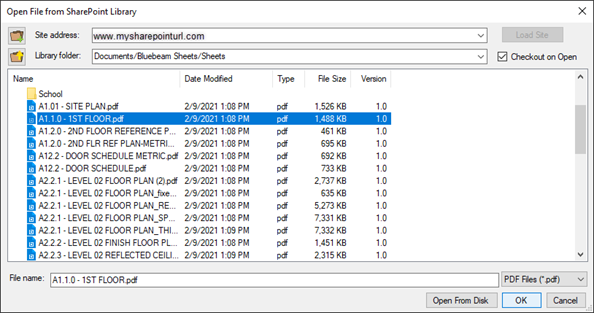
This will open your SharePoint library. From there, select your needed files.
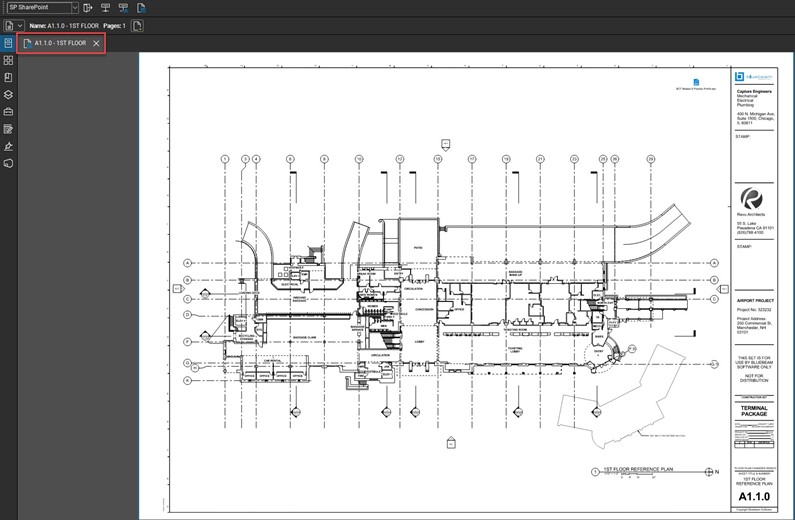
You now have a PDF file directly from SharePoint opened in Revu. For this example we have the “Checkout on Open” option selected. When a document is checked out, you will see the check-out icon displayed in the document tab. You now have the option to make changes while others can view the document.
Others in SharePoint will see this red arrow icon when a file is checked out.
![]()
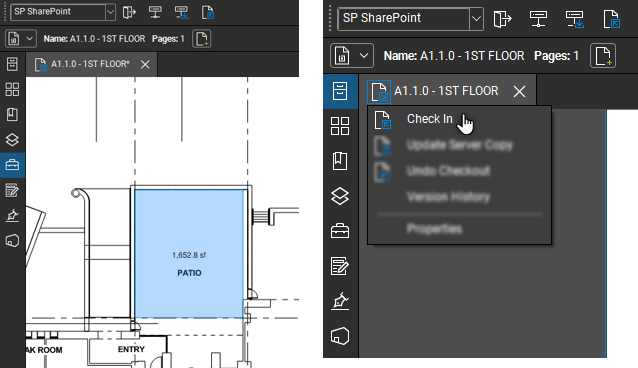
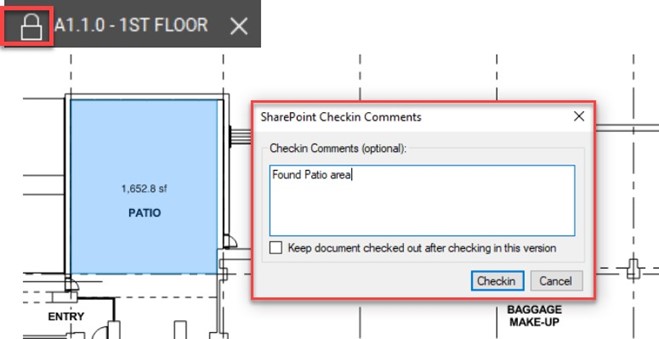
You are now able to take advantage of the world class markups with Revu on your SharePoint file(s). Make your markups and then check the file back in.
Just as in Studio® Projects, you can leave a comment on what work was done.
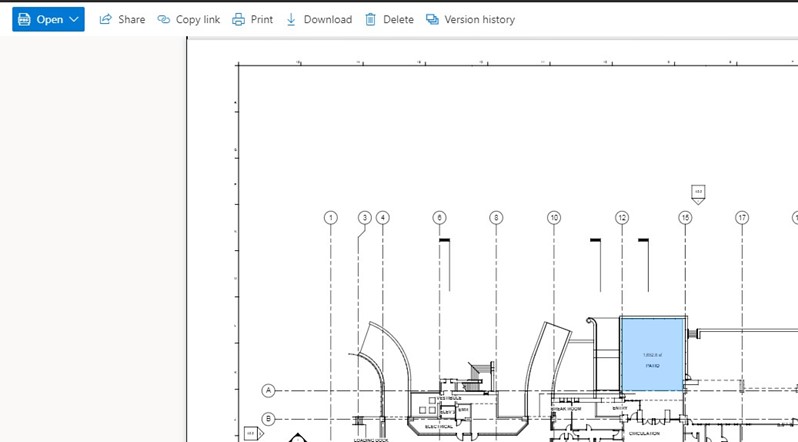
Now when you navigate to the SharePoint location, you can see the markups and version history. (The example below is viewed within a Google Chrome browser.)
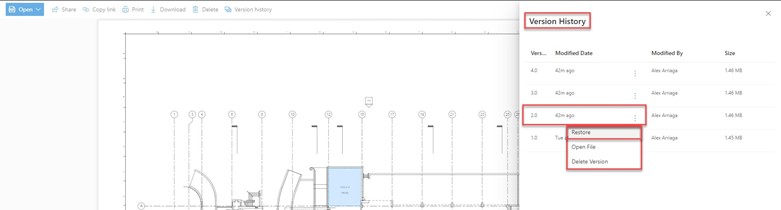
From the version history, you are able to restore a previous version if needed.
Try out this SharePoint integration and Revu 20.1 today Download your free trial of Revu here.

Alex Arriaga is a Bluebeam Design Technology Specialist at MG AEC Technology Partners. Alex is a Bluebeam Certified Instructor, Bluebeam Certified Support Representative and a member of the Denver Bluebeam User Group. He works with organizations and individuals in furthering their workflows with and knowledge of Bluebeam Revu.
![]()
Revu and Studio are registered trademarks of Bluebeam, Inc., used under license.